Integration Setup
Download and watch this video tutorial or follow the instructions below:
Retrieve Your Klaviyo API Keys:
- In your Klaviyo dashboard, navigate to "Account" > "Settings" > "API Keys.
- You'll find both your public and private API keys. If you don't have a private one, create it with Full Access.
Connect Klaviyo with Hulk Product Reviews:
- Go to "Integrations" in your app's navigation.
- Select "Klaviyo" and enable the Klaviyo integration.
- Paste both your public and private Klaviyo API keys into the respective fields in the HulkApps Klaviyo integration.
- Click "Save."
Lists/Segments on Klaviyo
Add Profiles to a Klaviyo List (Optional):
You can automatically add customer profiles who leave reviews on HulkApps to a Klaviyo list.
Confirmation:
- Click "Save" to confirm the integration.
- In your "Profiles" section, you'll see the "HulkApps Activation" profile, indicating a successful integration.
Tracking Users Who Left Reviews on HulkApps:
Once the integration is set up, users who leave reviews will be automatically tracked. A "Left a review on HulkApps" property will appear in user profiles, displaying useful metrics related to the review.
Automation Flows Setup
Watch this video tutorial or follow the instructions below:
Sending Review Requests via Klaviyo:
1. Activate your Klaviyo integration.
2. In "Review Requests," you can now send review request emails through Klaviyo.
Eligibility for Review Requests:
To start sending review requests via Klaviyo, ensure you have profiles with the "Eligible for HulkApps Review Request" property.
Creating an Email Template in Klaviyo:
- In your Klaviyo dashboard, go to "Flows" and select "Create Flow."
- Choose "Create from Scratch" and name your flow.
- Click "Create Flow."
Email Template Creation:
- To create the email template, click on "Metric."
- From the dropdown menu, select "Eligible for HulkApps review request."
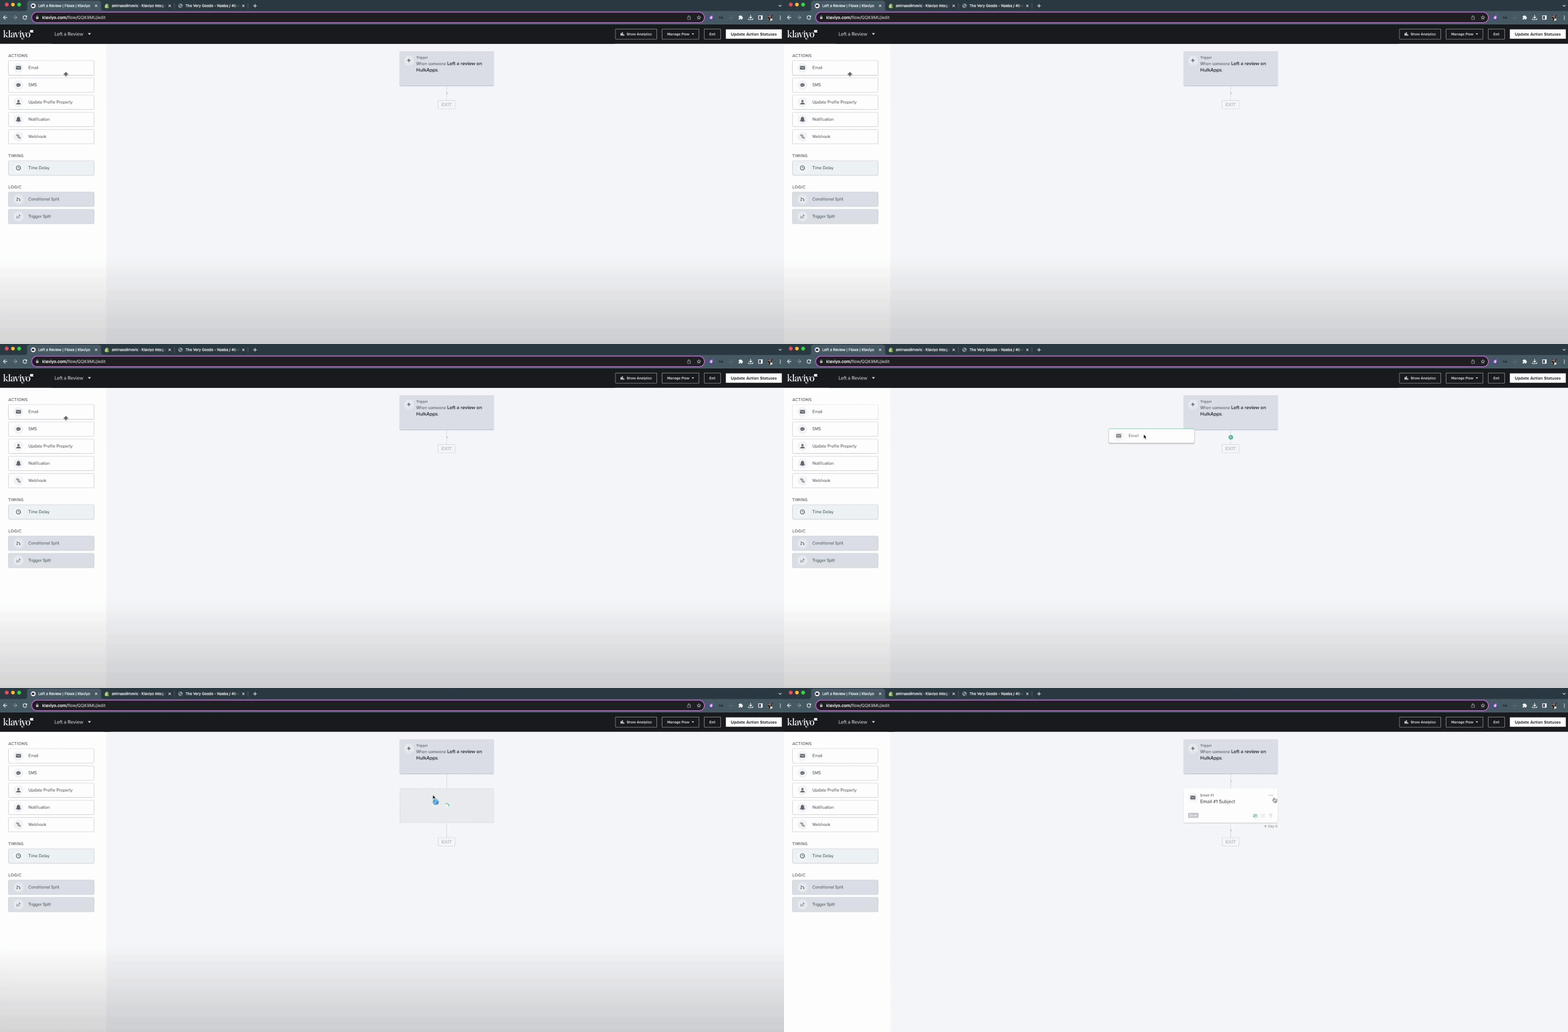
- Add an "Email" action by dragging it to the workflow.
- Click on the email element, then "Configure Content."
Email Content Customization:
- Select "Drag and Drop."
- Choose a template.
- Customize the email content, including using merge tags from HulkApps.
- Add the review request link and product images as needed.
Setting a Time Delay:
1. Drag and drop the "Time Delay" option to set the desired time delay for sending the email.
2. Choose "Live" for automatic sending or "Manual" for manual sending.
Final Steps:
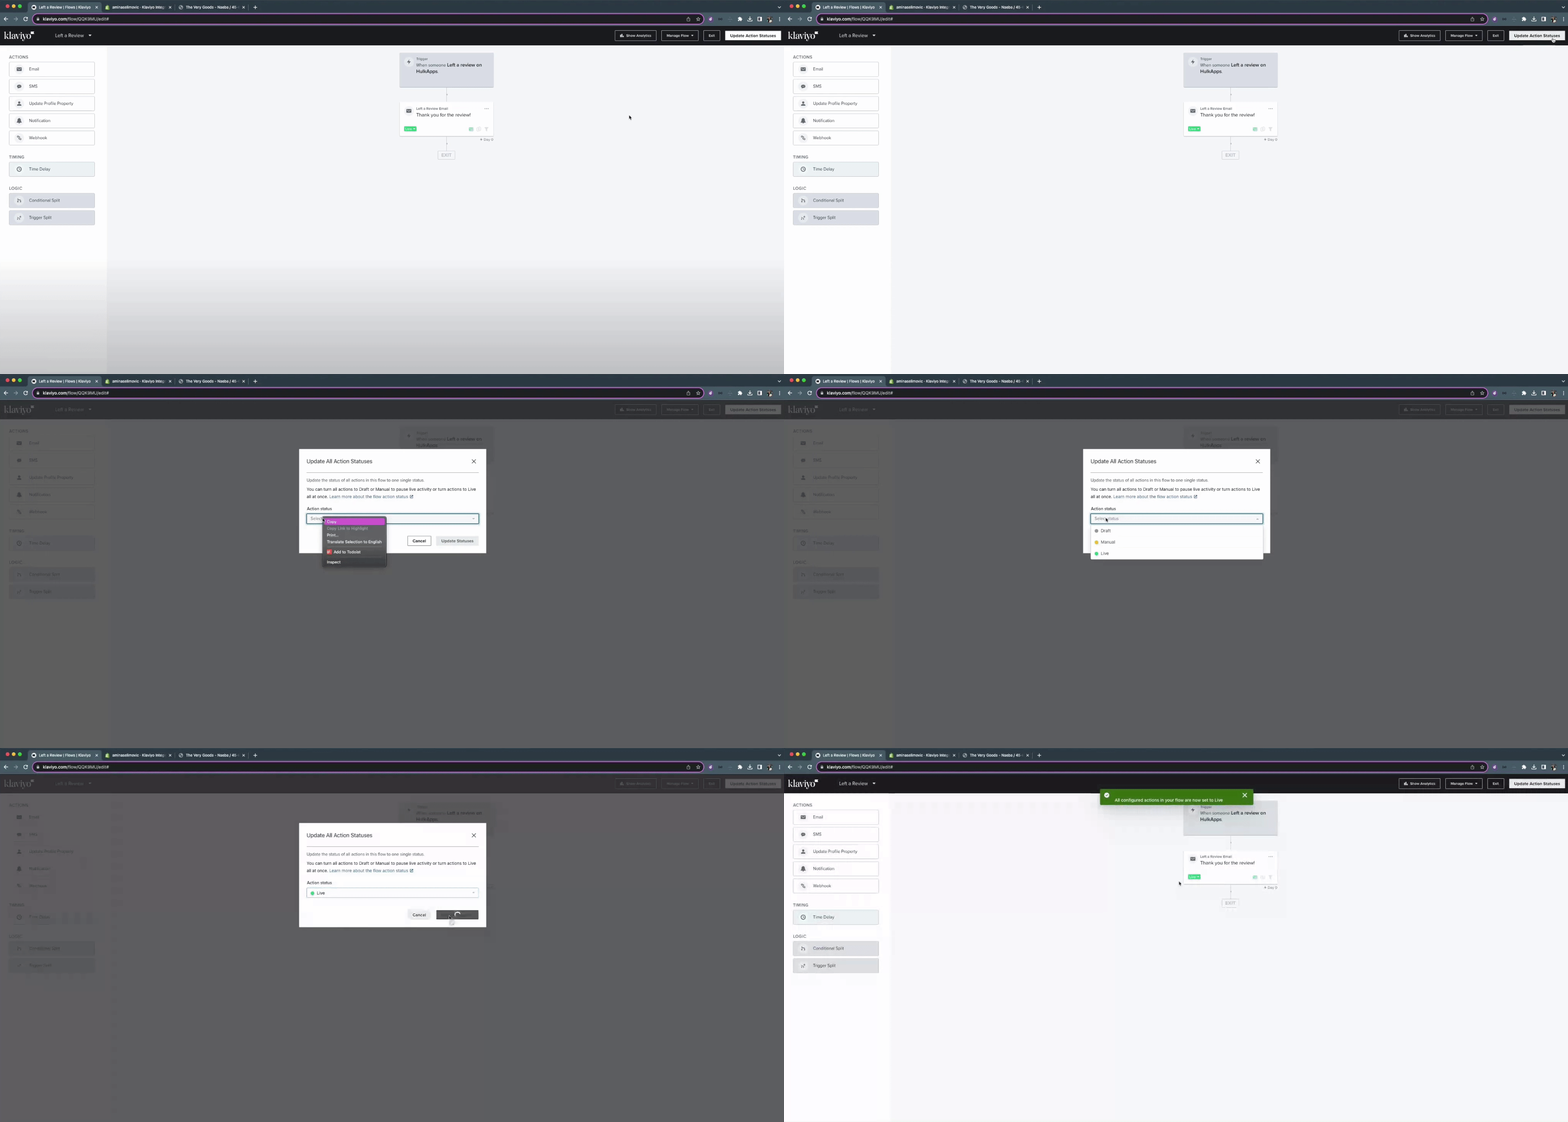
1. Click "Update action statuses" and set it to "Live."

2. The review request email will now be sent to eligible users.
That's it! You've successfully integrated Hulk Product Reviews with Klaviyo for efficient review request flows.
